Showing posts with label Pizza. Show all posts

Monday, June 17, 2013

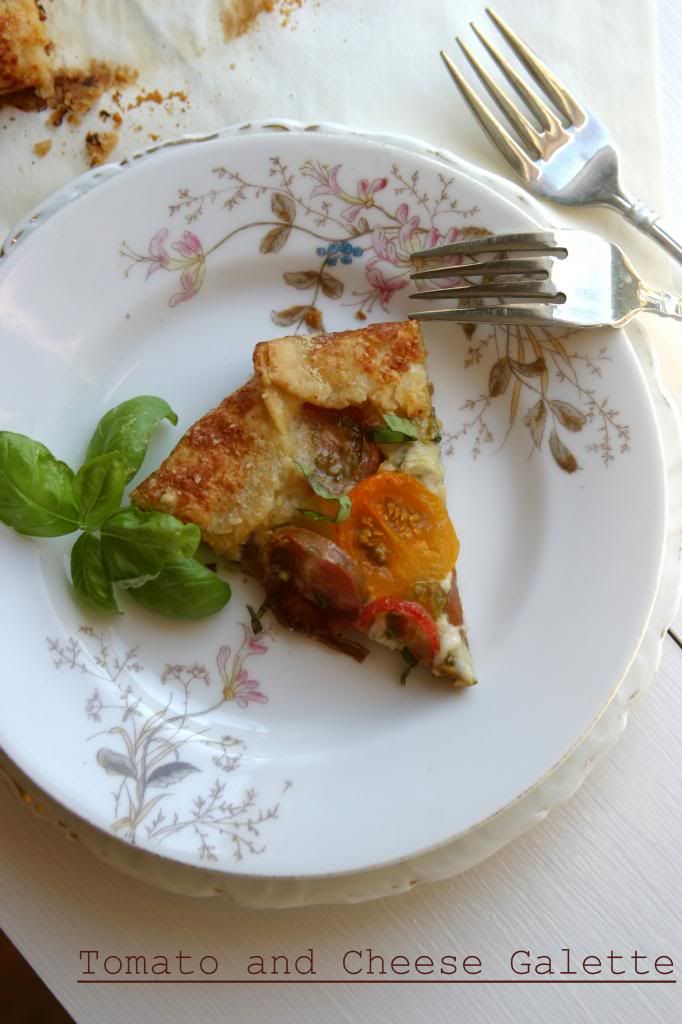
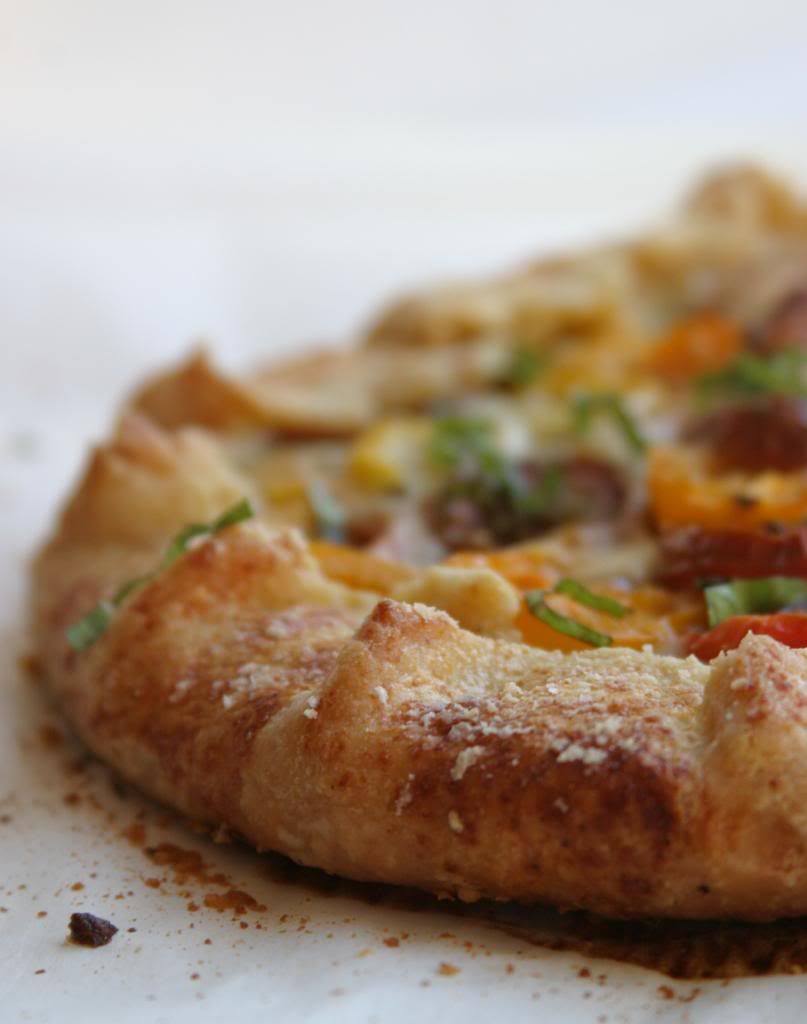
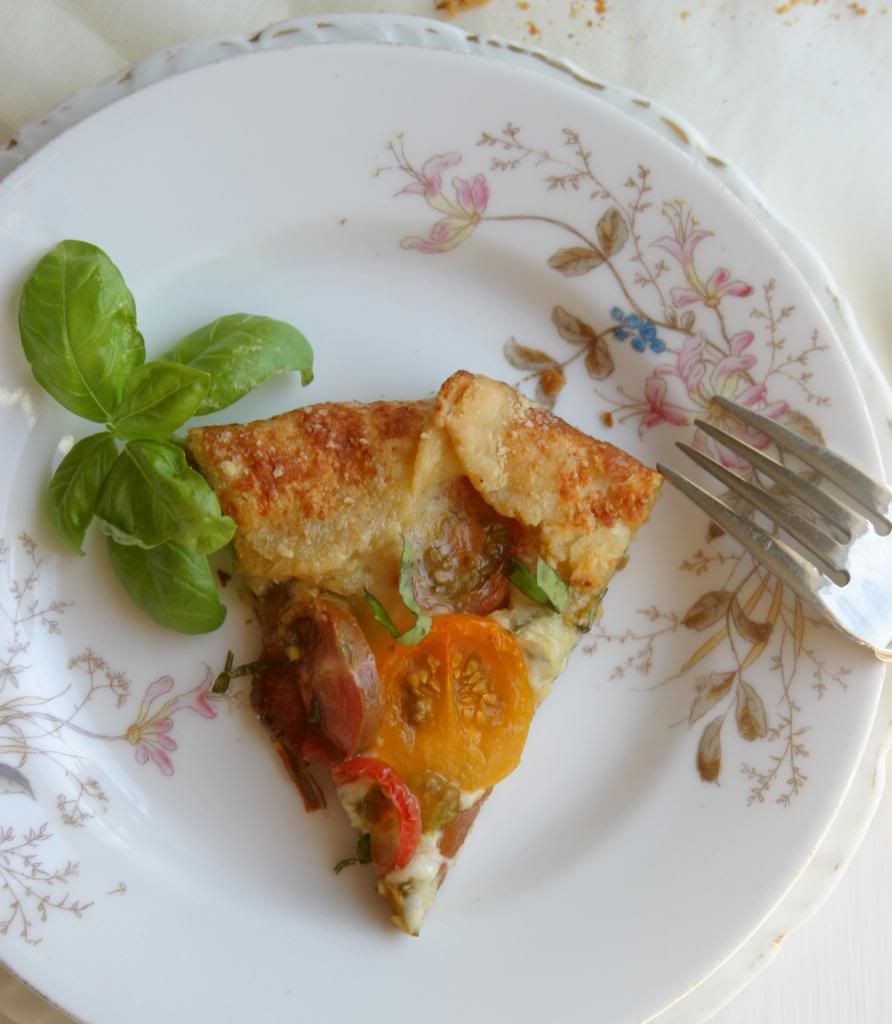
Tomato and Cheese Galette {A Tuesdays with Dorie Post}

As I sit here trying to organize my thoughts this evening, I am eating a bowl of my Mom's homemade chicken and orzo soup still buzzing with excitement from a fun night out.  I was invited to the Friends and Family preview evening for the newest Whole Foods to open up in the area.  That's a post for a different time, but let's just say that I found myself giddy to be standing in a grocery store being poured a local pinot noir at a bar built into an Airstream.  It was really fun (and the pinot was excellent!).
The sight of all of the signs pointing out the locally produced (and hyper locally as well- that means within a 5 mile radius of the store) fruits and veggies, wine, cheese, granola and other spectacular looking foods was wonderful to see, but it did make me a bit sad.  Sad that in just a few short weeks, I'll be leaving it all behind.  That's not to say that I am not in anyway looking forward to the adventures in my near future.  I fancy myself riding my bike to the local butcher, dairy farmer and Saturday market and filling up my wicker basket with all I need for the week's meals.  But I will definitely be missing my garden and the fabulous produce that we have such easy access to here in Southern California.
Most of all, I will miss the tomatoes.  I planted a full garden's worth earlier in the spring knowing that I wouldn't likely be around to enjoy the fruits of my labor.  But I couldn't bear to see the garden's brown earth remain barren where in the summers past they had been covered in cucumber vines, herbs and stakes tied with branches holding up the most beautiful of tomatoes.  The first of this years crop are just beginning to find their way into the light.  The cherry tomatoes are hanging on the vines, small and still green, but with the promise of something much more. I was hoping to have a tomato ready to eat before I moved, but I guess that's just not in the cards.

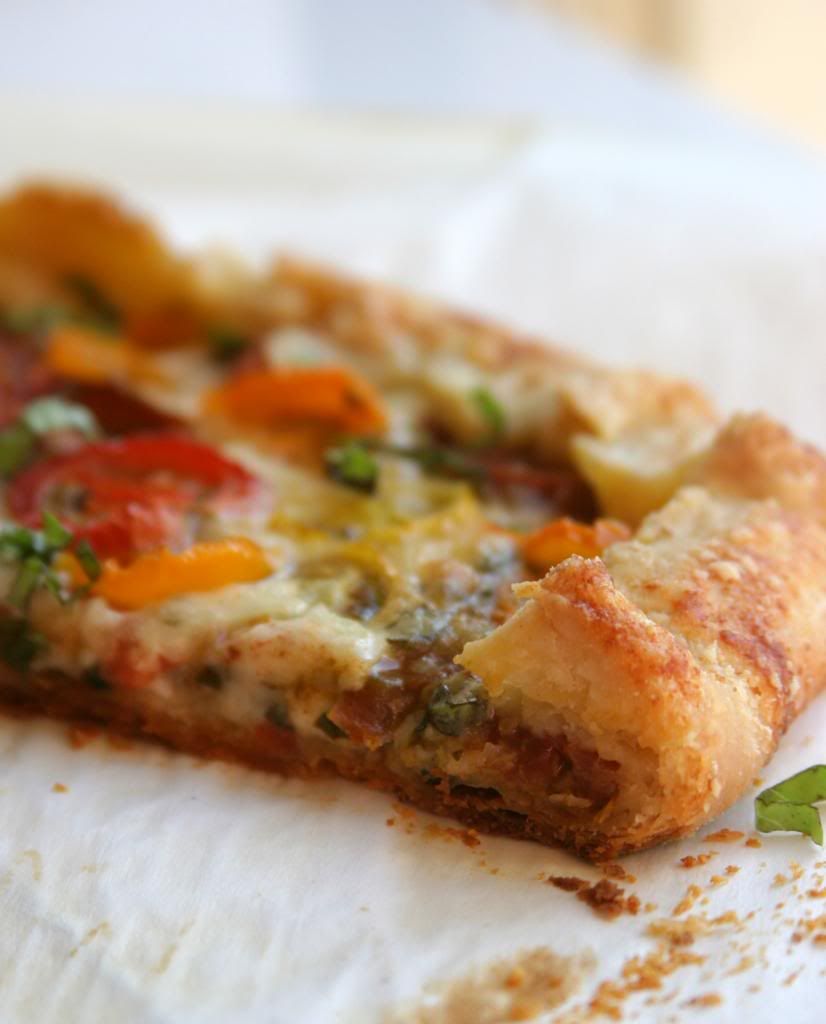
I can imagine the dark red heirloom Riesentraube tomatoes- growing right next to a patch of basil- would have been just perfect in this sweet little tart.  It's a savory tart, almost like a fancy pizza, with a crisp and flaky crust.  I'm so glad I found it.  Perhaps one day soon, in the warmth of a late European summer afternoon I might pull another out of my new (and tiny) German oven.  For now, I'll have to be happy with making the best of the few early tomatoes I can find in my own SoCal Saturday market instead.  Sad to be leaving but happy to have been here to experience it in the meantime.
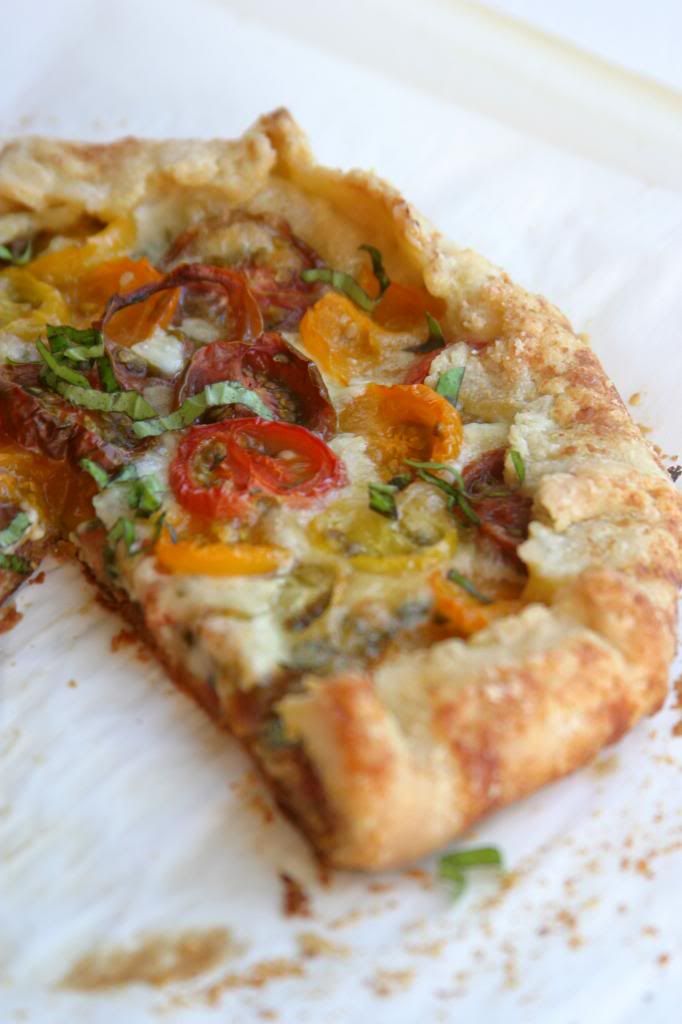
Tomato and Cheese Galette
Makes 1 8-inch galette.  Adapted, only slightly, from Baking with Julia by Dorie Greenspan.
For the printable recipe, click here.

This is a Tuesdays with Dorie post, so there are plenty of other pretty pies to check out on the official page.  I decided to vary the cheese selection a bit, thinking that fontina would make a better partner for the mozzarella that the monterrey jack that was called for in the original.  I was pleased with the result and my boys enjoyed nibbling on the extra pieces of fontina as the galette baked.  That's a win-win in my book.  Oh, and the crust is to die for.  Just saying.

1 recipe of galette dough (recipe follows)

1/2 cup shredded mozzarella cheese
1/2 cup shredded fontina cheese
1/4 cup fresh basil leaves, cut into chiffonade (finely shredded) or torn
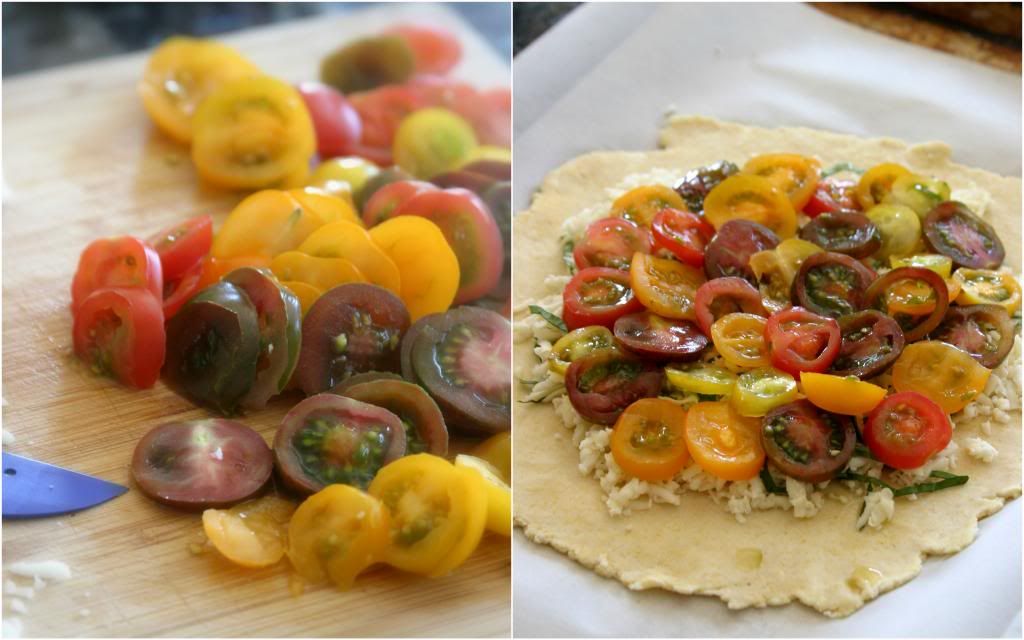
2 to 3 ripe plum tomatoes or 1 1/2 cups grape or cherry tomatoes, cut into 1/4-inch-thick slices
3 tbs grated parmesean cheese

Preheat the oven to 400° and position a rack in the lower third of the oven. Prepare a baking sheet by lining it with parchment paper.

On a lightly floured work surface, roll out the dough into an 11-inch circle that’s about 1/8 inch thick. The dough is quite soft so make sure to lift it now and then and toss some flour under it and on the top to prevent it from sticking everywhere. When you’ve accomplished the above dimensions, move it to your prepared pan. The best and easiest way to move this dough is to roll it up around your rolling pin and then unroll it onto the prepared baking sheet.

In a bowl, toss the mozzarella and fontina cheeses and basil together and then sprinkle it over the rolled out dough, leaving a 2-3 inch border. On top of the cheese, place the tomatoes in concentric circles, again leaving the couple inch border. Fold the uncovered border dough up over the filling, allowing the dough to naturally pleat as you work your way around the galette.  Sprinkle the parmesean cheese around the fluted edges of the crust.

Bake the galette for 35-40 minutes, or until the pastry is golden and crisp and the cheese is bubbly. When it’s done, allow the galette rest on the sheet for 10 minutes. Cut apart with a knife or pizza wheel and serve.

Galette Dough:

1 1/2 tbs buttermilk
2 1/2 tbs (approx.) ice water
1/2 cup all-purpose flour
2 tbs cup yellow cornmeal
1/2 tsp sugar
1/4 tsp salt
 3 1/2 tbsp cold unsalted butter, cut into 4-5 pieces

By Hand:
Stir the buttermilk and ice water together in a small bowl and set aside. Then, in a large bowl, combine the flour, cornmeal, sugar and salt and stir with a fork to mix. Drop in the butter chunks and toss them a round a bit to coat them with the flour mixture. Using a pastry blender, work the butter into the flour, working for butter pieces that range in size from bread crumbs to small peas.

Add the cold water/sour cream mixture into the dough 1 tablespoon at a time, stirring with a fork after each addition to evenly distribute the liquid. When all the mixture has been added, the dough should be moist enough to stick together when it’s pressed; if it’s not, add in more cold water, 1 teaspoon at a time. Use your hands to gather the dough together.

When you’ve gathered it together into a cohesive ball, press the dough into a disk shape, wrap in plastic and chill for at least 2 hours.

In a Food Processor:
Stir the buttermilk and ice water together in a small bowl; set aside. Put the flour, cornmeal, sugar, and salt in the work of a processor fitted with the metal blade; pulse to combine. Drop the butter pieces into the bowl and pulse 8 to 10 times or until the mixture is speckled with pieces of butter that vary in size from bread crumbs to peas. With the machine running, add the buttermilk mixture and process just until the dough forms soft, moist curds.

Remove the dough from the processor and press it into a disk. Wrap in plastic and chill for at least 2 hours.

Tuesday, August 14, 2012

Grilled Herb and Cherry Tomato Focaccia

In my former life as a resident of an island in the northwest corner of the beautiful state of Washington, I would have traded most anything for a week of 85 degree days.  I spent nearly 9 years as a sun and warmth starved New Jersey transplant.  It was rough on me.  My summer wardrobe consisted of quite a few pairs of capri pants and only 1 or 2 pairs of shorts.  It just never really got warm enough.  Sleeveless tops were only for layering, never for being worn all by themselves.  I became a layering expert because the summer weather was predictably unpredictable.  And a bathing suit?  Forget about it- I never needed one.
Now I'm happily living as a Southern Californian, enjoying the almost year-round summer.  I can grow veggies in my garden through the winter and my stash of shorts has grown exponentially.  Until the few days every August when the weather turns hot, I'm as content as can be.  The biggest problem right now- it's hotter inside than it is outside.

My house's lack of air conditioning drives me from my kitchen.  I can't stand to turn on the stove or the oven.  Case in point- two days ago I had picked pounds and pounds of figs and needed to turn them into jam.  The only time it was cool enough to fire up the stove was after I tucked my boys in bed.  And even then I had the back door and windows wide open.
Fast forward a day and it hasn't cooled off any.  I'm grilling Greek-style and making a tomato salad so I don't need to go near the kitchen ( I made these delicious Greek inspired chicken drumsticks).  The big question is, how to get some bread to dip in the tzatziki without turning on my oven and turning my kitchen into a sauna.  Then it hit me- the grill.  If I can roast a whole turkey on it, I can bake bread there too.  Hooray!  It's not pita and its not Greek, but man this bread is good.  And it made fast friends with my tzatziki.  Now, I'm off to dream about really being in Greece with the white sands, sea breezes, and some else to bake my pita bread for me...

Grilled Herb and Cherry Tomato Focaccia
Makes 2 8-in diameter focaccia loavesRecipe adapted from Artisan Bread in Five Minutes a Day.
For a printable recipe, click here.

This recipe is a slightly altered version of my standard no-knead bread.  You can go nuts with the toppings or leave the bread plain as can be.  It's quite easy to make and only requires you to think of it early in the day so that you can mix up the dough.  Then go to the beach (like I did) and don't give it another thought.

1 2/3 cups warm water
2 1/2 tsp quick rise dry yeast
2 1/2 tsp kosher salt
2 tbs extra virgin olive oil, plus more for coating the baking pan
2 tsp sugar
3 1/4 cups unbleached all-purpose flour
1-2 tbs chopped fresh herbs
small handful halved cherry tomatoes

In a large container or bowl, mix together all the ingredients except the herbs and tomatoes.  Cover loosely and leave on the counter for about 2 hours.  At this point you can use the dough or refrigerate it up to one week.

Turn on your gas grill to a medium high heat about 20 minutes before you intend to make the bread.  You want it to reach 450 degrees.  Coat the bottom of an 8 inch metal cake pan or pie tin with olive oil and sprinkle with kosher or sea salt.

Pull off a large orange-sized piece of dough and flatten or stretch it until it is about 1/2 inch thick.  Place the dough in the cake pan and sprinkle the herbs over the top.  Lightly press the tomatoes, cut side down, into the dough.  Let it rest while the grill heats up.  When the grill is ready, press your fingers into the dough to dimple it and drizzle the top with a bit more olive oil.

Place the pan on the grill and bake the bread for 15-20 minutes.  You may need to rotate the pan occasionally to avoid hot spots.  When the bread is almost cooked through (with about two minutes left or so), use tongs to flip it over in the pan.  This will help the top brown and char the tomatoes nicely.  Remove from the grill and let it cool slightly before cutting the bread into wedges.  Serve warm.


Thursday, February 9, 2012

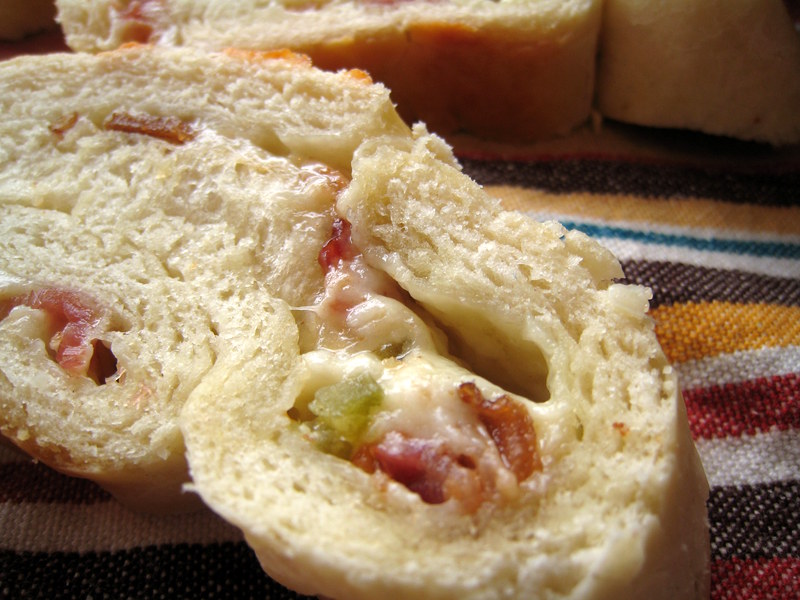
Bacon, Cheddar and Jalapeno Bread

Breakfast time is usually a blur with a quick bowl of cereal or some frozen waffles.  Who has time for anything more when you're running out the door?  Dinner is the complete opposite.  Usually dinner is something that I have planned well in advance and have made sure that there is something in the meal that everyone will be happy with.  It's thoughtful, relaxing and family-time.

But lunch?  Lunch is all mine.  I'm the only only to please.  And since no one else has to like what I have for lunch I get to fill it up with all those things that no one else in my house will eat.  I make things like soups and pizzas with ingredients like butternut squash, zucchini, carrots or goat cheese.  I experiment and make new things.  I love lunch at my house.
The other day I had one of those lunches.  It started because I wanted something other than the chicken salad that I had made the day before.  So I decided to raid the fridge to see what sort of treasures I could unearth.  And then I struck gold.  A forgotten jar of pickled hot peppers way in the back reminded me of a recipe idea I had.  I had made the pickled peppers (does that make me like Peter Piper?) back at the end of summer when I had way too many peppers to use and couldn't stomach the idea of making yet another salsa.  But I always forget to take them out when I'm making tacos or fajitas, which is exactly what they were intended for.  It's a shame that they've been neglected because they're really very good.

I scooped up my forgotten jar of peppers and put them to work.  A few ingredients and some baking time later and my bacon, cheddar and jalapeno bread was born.  It was the perfect lunch just for me.  I'm so glad I found that jar...
Bacon, Cheddar and Jalapeno Bread
I love the inspiration for this bread.  A friend posted on Facebook about a bread she had ordered from a chain pizza joint that she couldn't stop eating.  I immediately thought that it sounded like a great combination and that I could certainly make it in my kitchen.  So when I finally made my version, I gave half to her to try. I'm happy to report that she loved it as much as the original!


For the dough (though you can definitely make it with store-bought pizza dough):
1 1/2 cups all-purpose flour
1/2 tsp kosher salt
1 package (2 1/4 tsp) instant yeast
2 tbs olive oil
1/2 cup warm water


1 1/2 cups sharp cheddar cheese plus 2 tbs
4 slices bacon, browned and chopped into small pieces
2 tbs jarred pickled jalapenos (or 1 large fresh jalapeno, serrano chile or fresno chile), finely chopped
2 tbs shredded parmesean cheese

Make the dough by combining the flour, salt, yeast, water and oil in the bowl of a stand mixer.  Using the dough hook attachment, mix the ingredients together until you have a ball of dough that comes together.  Alternately, you can mix the dough with a wooden spoon in a large bowl.  When a soft ball of dough forms, transfer it to a lightly floured work surface and knead it for about 5 minutes.  You want a soft, smooth, but not sticky dough.  Add additional flour as necessary.  Put the dough in a large bowl that has been drizzled with olive oil.  Turn the dough to coat it with oil.  Wrap the bowl with plastic wrap and place to bowl ina warm area.  Let the dough rise until it has doubled in volume, about an hour.

When the dough is ready, turn the oven on to 375 degrees and line a cookie sheet with parchment paper.

Remove the dough from the bowl and cut it into two equal pieces.  Set one piece aside.  Shape the other piece into a rectangle as best you can and then roll it out into a thin sheet so that it remains rectangular.  You want it to be about 3 inches wide.  Sprinkle half of the 1 1/2 cups of cheddar cheese down the center of the dough, leaving the edges uncovered.  Sprinkle half of the bacon and peppers over the cheese.  Bring the sides up over the filling and pinch the seam together tightly so that you form a long log with the filling encased inside.  Turn the log seam side down.  Repeat the rolling and filling procedure with the other half of the dough.

Make the dough twist by crossing one end of the first dough log over one end of the other.  Cross the second log over the first and continue in this manner alternating until you reach the ends of the two logs.  Tucks the ends under and transfer the twist to the cookie sheet.  Cut 1 inch slashes into the dough in several places.  Sprinkle with the remaining two tablespoons of cheddar cheese and the parmesean.  Bake for 25-30 minutes or until the top is lightly browned.  Let it cool before slicing.

Serve the slices of bread with salsa for dipping.

Thursday, January 19, 2012

One Butternut Squash Becomes a Pizza as well as Muffins with Apple and Hazelnuts

Ideas for recipes can sometimes come from funny places.  I had a butternut squash sitting on my counter for a couple of weeks and felt no real desire to make anything out of it.  It was just sitting there next to the pomegranates looking lonely.  Haven't done anything with pomegranates either, to tell you the truth.  They just keep coming in my CSA box and keep piling up in the fruit bowl.  My little one keeps asking me to make him pomegranate juice, which I suppose I'll get around to sooner or later.  I simply wasn't feeling inspired.

Then came a little post on my Facebook page from my sister-in-law.  She had gotten a bumper crop of butternuts and was looking for a new soup recipe to try.  I immediately set to work scouring my favorite blogs and sending her link after link of great soup recipes (and pasta and chili recipes too!).  All of a sudden I remembered my lonely little squash sitting on the counter and a wonderful looking pizza recipe I had recently pinned to my Pinterest board.  Finally, inspiration!

And let me tell you, I was blown away by the simplicity of the pizza, it's beauty, and the sweet nutty flavors.  It may be my new favorite lunch.  A pizza just for me; to enjoy in the quiet of nap time.  Heaven...

Here's the one I had problem with this lovely little pizza- I only used half of the squash.  Luckily, I had the forethought to roast the whole thing all at once, so I had half a roasted butternut all ready to go for some other fabulous use.  And I found it while looking for that soup recipe.  Tucked at the bottom of a butternut squash risotto recipe from Aran over at cannelle et vanille, was a recipe for a sweet little muffin.  And I had just enough squash puree to make the muffins.  I am soooo glad I found the recipe.  The muffin is divine and made of all sorts of tasty, good-for-you ingredients like whole wheat flour, apples and squash.

I ate four the first day (that was yesterday).  I won't tell you how many are left after breakfast today, so don't ask, okay?

Butternut Squash Pizza
Adapted from alexandra's kitchen

I used pizza dough that I made from a basic no knead dough I had in the fridge.  You can find the recipe here.  Simply make up a batch and have it ready for when you are. Pull off a large orange-sized piece to use for the pizza and turn the rest into a great rustic bread another night.  You can also use store-bought pizza dough with no adjustments.  You'll need a 1 pound piece of dough for this recipe.  I didn't use the crispy sage that the original recipe called for (didn't have any), and I do regret it a bit.  I think the pizza could have used a bit of crunch.  It occurred to me afterwards that a bit a shredded prosciutto would be great sprinkled over the top before baking.  Try it and tell me what you think.

1/2 of a medium butternut squash ( the neck of the squash works well here), peeled and thinly sliced
1 clove garlic, finely chopped
3 tbs olive oil (or hazelnut oil, which is what I used- it gives the pizza a nice bit of nuttiness)
about 1/3 cup ricotta cheese
a few sprigs of thyme
1/4 cup grated pecorino or parmesean cheese
salt and pepper to taste
a 1 lb piece of pizza dough (at room temperature)

Preheat your oven to 400 degrees. 

Lay the squash slices on a cookie sheet and drizzle with a bit of live oil, salt and pepper.  Toss to coat.  Separate the pieces into a single layer and bake for about 20 minutes, or until they are fork tender.  Remove from the oven and let cool.

Turn the heat of the oven up to 450 degrees and slide a pizza stone in if you have one.  If you don't, a cookie sheet lined with parchment will work just fine.  You can preheat the cookie sheet if you want, just don't line it until you're ready to bake the pizza or the parchment may burn.

Mix together the olive oil and chopped garlic in a small bowl.  Set aside.  Roll the dough out on a lightly floured surface until it reaches a 10 inch diameter.  Slide it onto a cornmeal dusted pizza peel (or the piece of parchment if you're using the cookie sheet).  Drizzle the garlic infused oil over the pizza.  You can leave the garlic in the oil or strain it out before hand- that's up to you and how much garlic you like.  Spread the ricotta thinly over the dough, leaving a 1 inch border.  Arrange the cooked butternut squash slices over the top, then sprinkle with thyme leaves, the pecorino or parmesean cheese and a bit of salt and pepper if you like.

Slide the pizza into the oven and bake for 15- 20 minutes.  When it's reached your desired level of crispiness, carefully remove it, cut into four wedges and drizzle with a bit of hazelnut oil if you have any.  Olive oil would work as well.
 
Butternut Squash, Apple and Hazelnut Muffins
Adapted from cannelle at vanille 
(makes about 18 standard sized muffins)

The original recipe is a fantastic gluten-free recipe.  I didn't have the ingredients needed to follow it exactly, so I used what I had on hand and I think the muffins came out beautifully.  They still retain the spirit of the original.

1 cup butternut squash puree (I roasted the bottom half of a medium butternut squash for 45 minutes at 400 degrees, then cooled it and pureed it in a food processor)
1 medium apple, shredded (about 1/3 cup)
3 eggs
1/2 cup brown sugar
1/4 cup granulated sugar (I used pure cane sugar)
1/3 cup buttermilk
1 1/4 cup whole wheat pastry flour
1/3 cup ground hazelnuts (you can buy hazelnut meal or grind it yourself in a food processor or coffee grinder)
1/8 tsp cinnamon
1/2 tsp baking soda
1 tsp baking powder

Preheat your oven to 350 degrees.  Butter or spray 18 muffin cups with non-stick spray or line them with muffin/cupcake papers.

In a large bowl, Whisk together the squash puree, shredded apple, eggs, buttermilk and brown and granulated sugars.  In a separate bowl, combine the flour, ground hazelnuts, cinnamon, baking powder and baking soda.  Add the dry ingredients to the wet ingredients and stir just until combined.

Fill the muffin cups about 2/3 of the way full.  If you have any extra, sprinkle the tops with a bit of ground hazelnuts.  Bake the muffins for 18-20 minutes, rotating the pans top to bottom and back to front halfway through.  The muffins are done when they spring back to the touch and a toothpick inserted into the center of one comes out clean.  Cool the muffins in the pan for 5 minutes, then remove and cool completely on a wire rack.