Sometimes I just stand quietly in the doorway and watch my kids. When the days seem filled with rushing around and it seems like the people in my family barely notice each other, I try to purposely stop and simply take notice.
My baby girl is at the age where she is beginning to understand how to play by herself so she'll wander around with her stuffed animals or books talking her secret little language to herself. She pretends to read the books and she gives her animals huge hugs and kisses complete with a loud and thrilled "MWAH!" with each kiss. It's the sweetest thing to watch, truly, and it makes me thankful that she came along when she did to remind us all how happy we can be. She is so blissful and genuine and full of unconditional love. It's pretty amazing.
Then I watch my boys standing still, running, being big brothers and I am amazed all over again. My middle guy is still so adorably snuggly in one moment and thoughtful and grown up sounding in the next. He struggles sometimes like when he's trying to learn to read (in two languages at once but he's doing great) and I love that he still needs and wants my help. But then he blows me away with what he knows and how fast he can do math. He's at this perfect age and I just don't want him to get any older. Is that possible?
Of course, if I could stop my kids aging I probably wouldn't. Because it's so cool to get to watch them grow into real people with thoughts and feeling all their own. My oldest son is a, gasp and moan, tween. Did you know boys do the tween thing too? And that they are just as moody and unpredictable as girls? I. Had. No. Idea. He's also hit the age where I'm not allowed to hug him anymore or tell him that I love him. Or so he thinks- it hasn't stopped me yet. Despite being stuck in this horrible hormonal no-man's-land, every once in a while a take a quick look at him and I can see this almost adult-ness about him. The little boy roundness is all gone and there's the shadow of the man he'll grow to be. Sort of the opposite of Peter pan, you know? I can rely on him and have thoughtful conversations with him. Why on Earth would I want to stop that from happening?
I've found myself doing this a lot lately. Just watching. It makes me so grateful for the gift of these people in my life. I think I will do it more often. I take a lot (an understatement) of pictures of my kids. We get to have so many adventures here that I want to capture. But watching is different. Instead of just taking pictures of my kids I'm actually seeing them. And that's really all any of us want, right? To be truly seen by the people that we love.
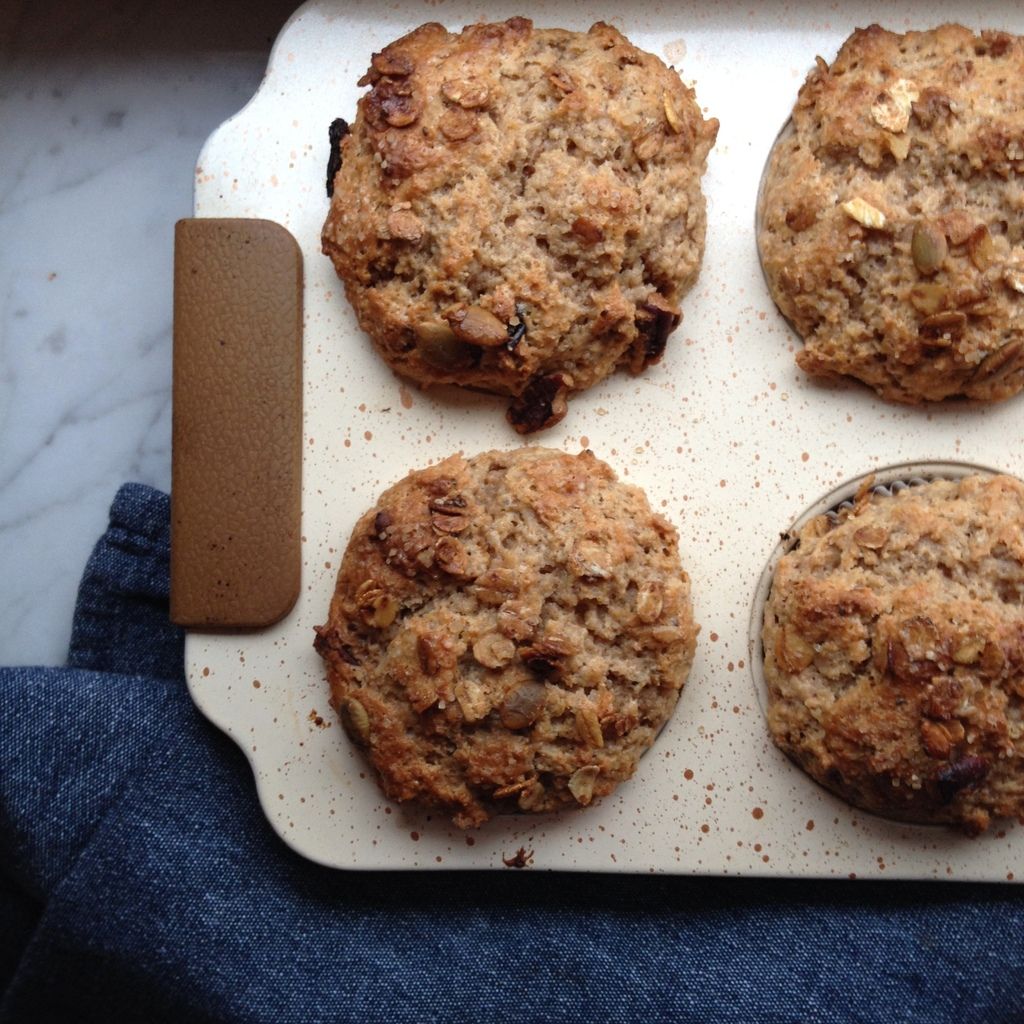
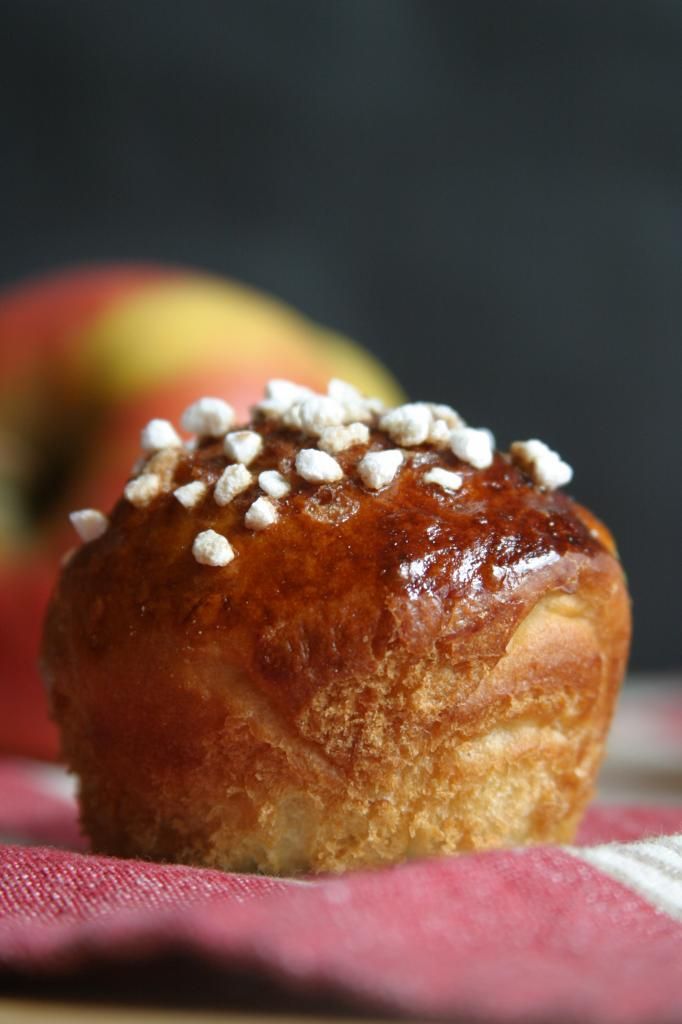
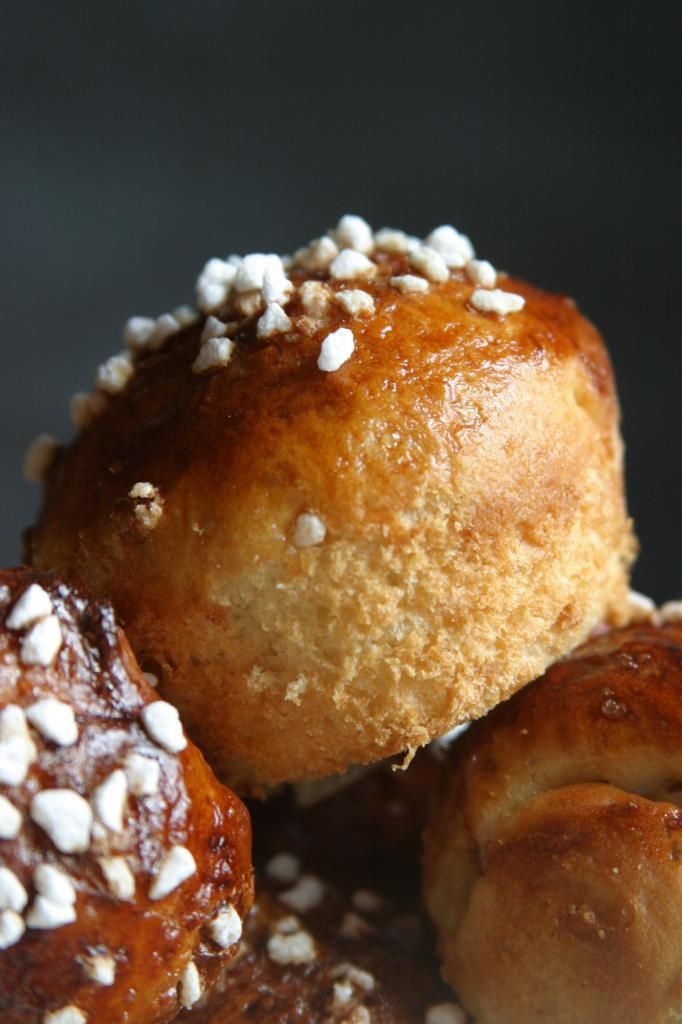
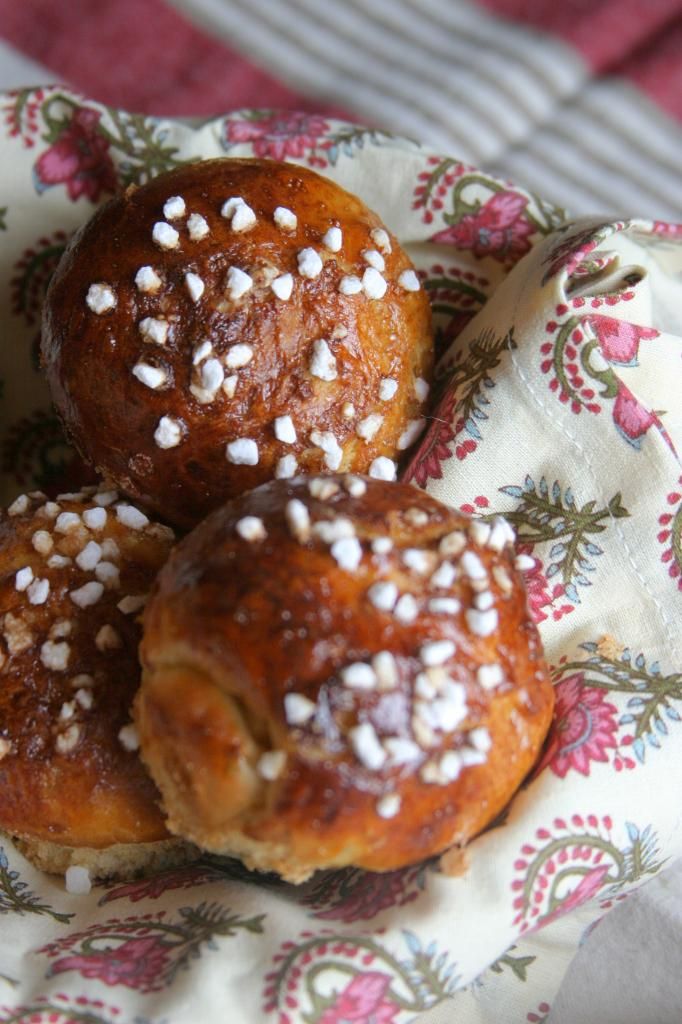
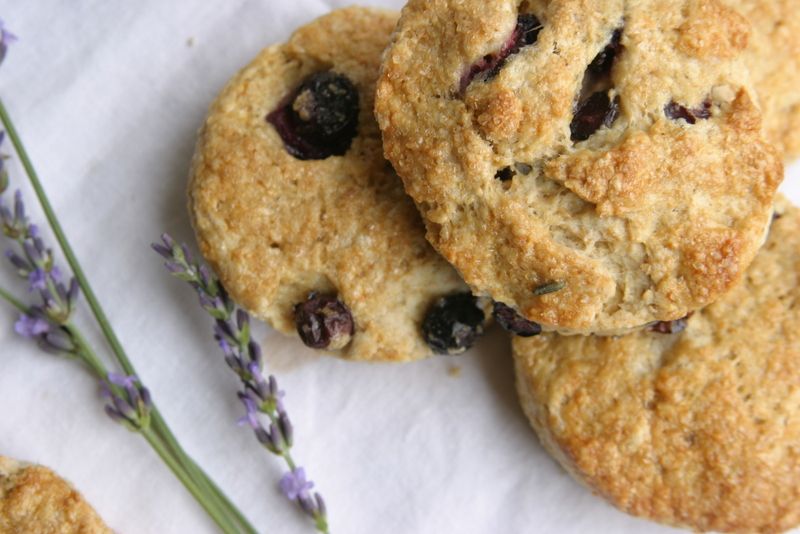
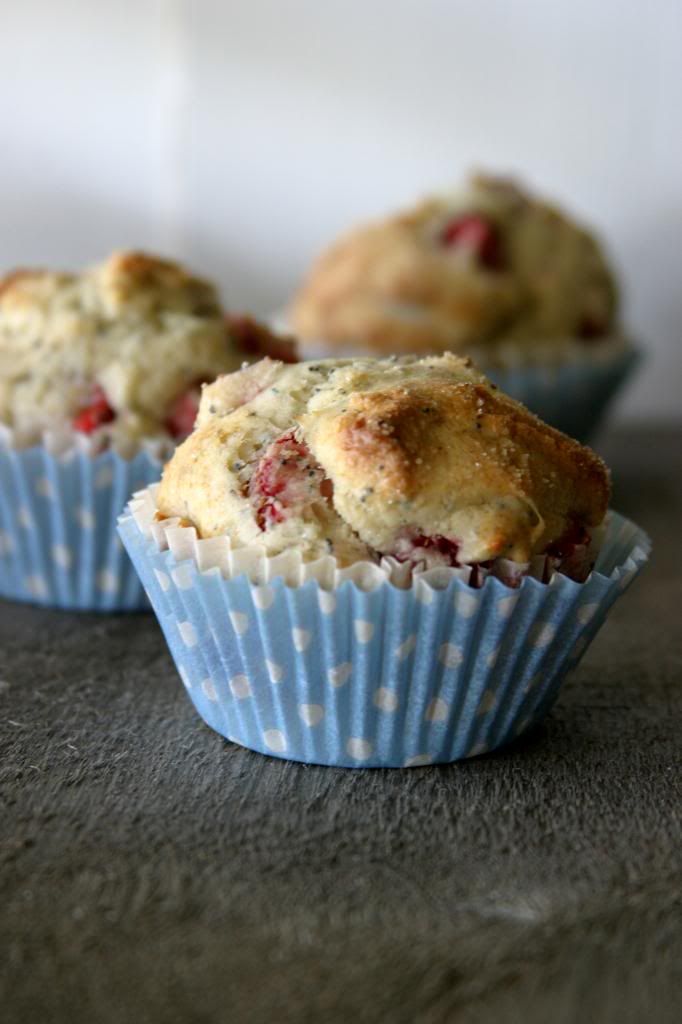
Whole Wheat Granola Muffins
Makes 12 muffins.
For the printable recipe, click here.
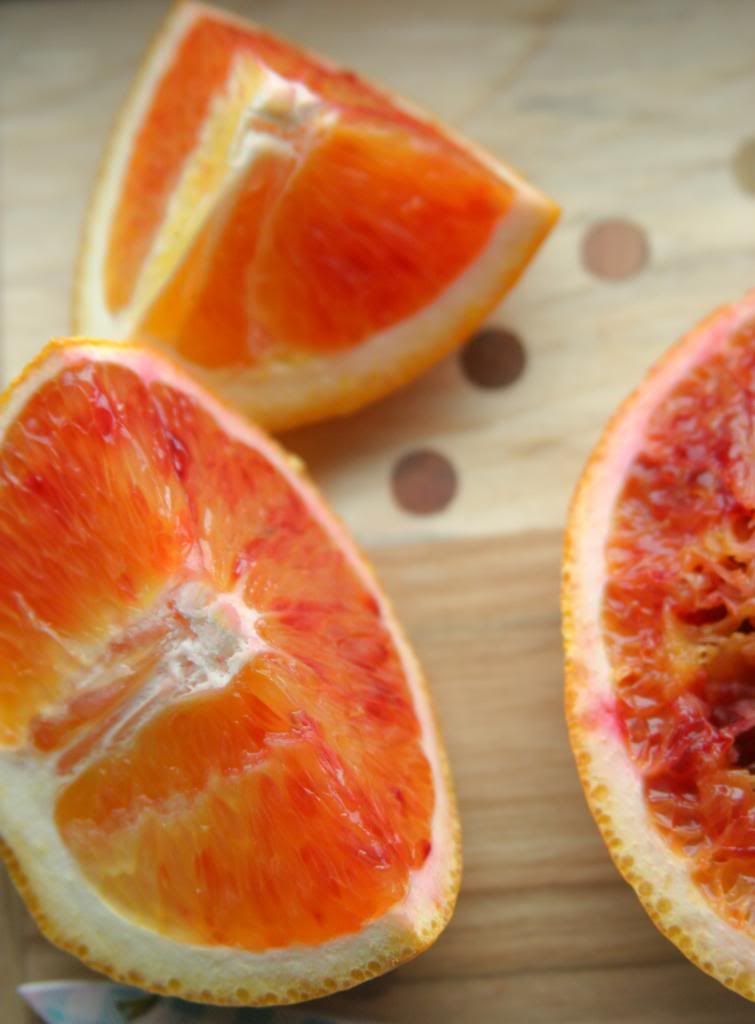
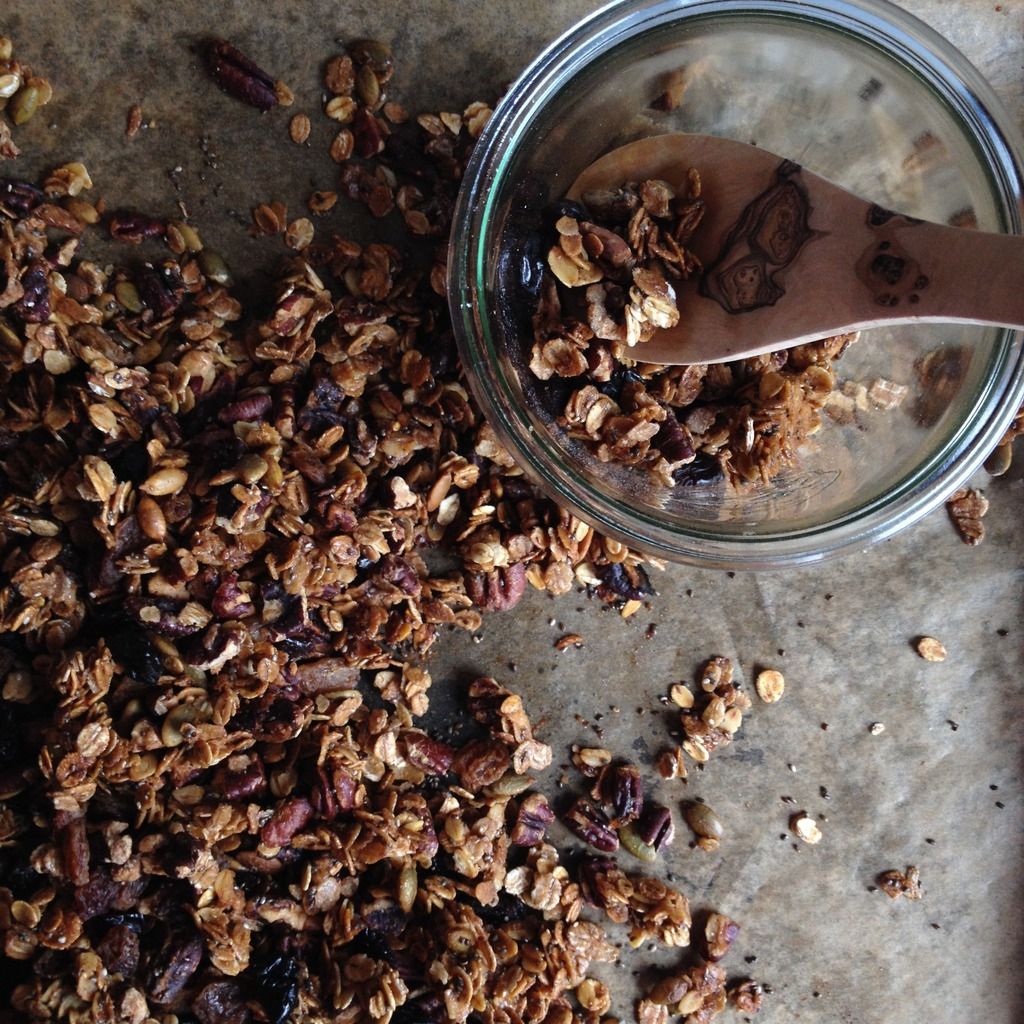
This is a very comforting muffin. Great for the quiet moments at the start of a day. But it has the added bonus of actually being healthy too. Yippee! I make my own granola and keep it in a jar on the counter, so that's what I use for my muffins. It's a pretty simple granola- a little maple syrup, pecans and pumpkin seeds, oats and dried cherries. It's based on a basic outline in Maggie Batista's book Food Gift Love. You can use your favorite granola but this muffin works better with a simple granola rather than one filled with a ton of mix-ins. In the recipe for the muffins I give a range for the milk measurement. Every yogurt is different and you don't want one that is too runny. But if the batter is too stiff after mixing in the lesser amount go ahead and add in the last two tablespoons. I like to finish the muffins with a sprinkle of granola before tucking them in the oven.
1 cup whole wheat flour
1 cup all purpose flour
1 cup light brown sugar
1/2 tsp cinnamon
1 tsp baking powder
1/2 tsp baking powder
1 cup granola
1 1/3 cups Greek-style yogurt
6- 8 tbs whole milk
1/3 cup neutral flavored oil
1 tsp vanilla extract
Preheat oven to 400 F. Line standard muffin pan with muffin cups or lightly butter. Set aside.
In a large bowl whisk together the flours, sugar, cinnamon, baking powder and baking soda. Stir in the granola.
In a separate bowl mix together the yogurt, oil, vanilla and 6 tbs milk. Gently stir the wet ingredients into the dry. If the batter is very stiff or dry stir in the remaining two tablespoons of milk. Divide the batter evenly among the muffin cups and sprinkle with a bit of granola or raw sugar if desired.
Bake for 16-18 minutes. Muffins are down when the tops are gently browned and spring back to the touch. Cool the muffins in the pan on a wire rack. Muffins will keep for up to three days in an airtight container but are best eaten within 24 hours.