As I sit here trying to organize my thoughts this evening, I am eating a bowl of my Mom's homemade chicken and orzo soup still buzzing with excitement from a fun night out. I was invited to the Friends and Family preview evening for the newest Whole Foods to open up in the area. That's a post for a different time, but let's just say that I found myself giddy to be standing in a grocery store being poured a local pinot noir at a bar built into an Airstream. It was really fun (and the pinot was excellent!).
The sight of all of the signs pointing out the locally produced (and hyper locally as well- that means within a 5 mile radius of the store) fruits and veggies, wine, cheese, granola and other spectacular looking foods was wonderful to see, but it did make me a bit sad. Sad that in just a few short weeks, I'll be leaving it all behind. That's not to say that I am not in anyway looking forward to the adventures in my near future. I fancy myself riding my bike to the local butcher, dairy farmer and Saturday market and filling up my wicker basket with all I need for the week's meals. But I will definitely be missing my garden and the fabulous produce that we have such easy access to here in Southern California.

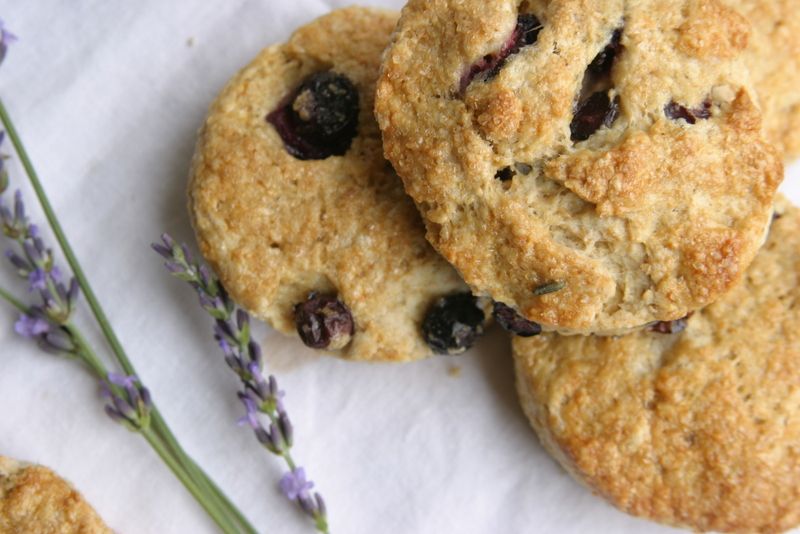
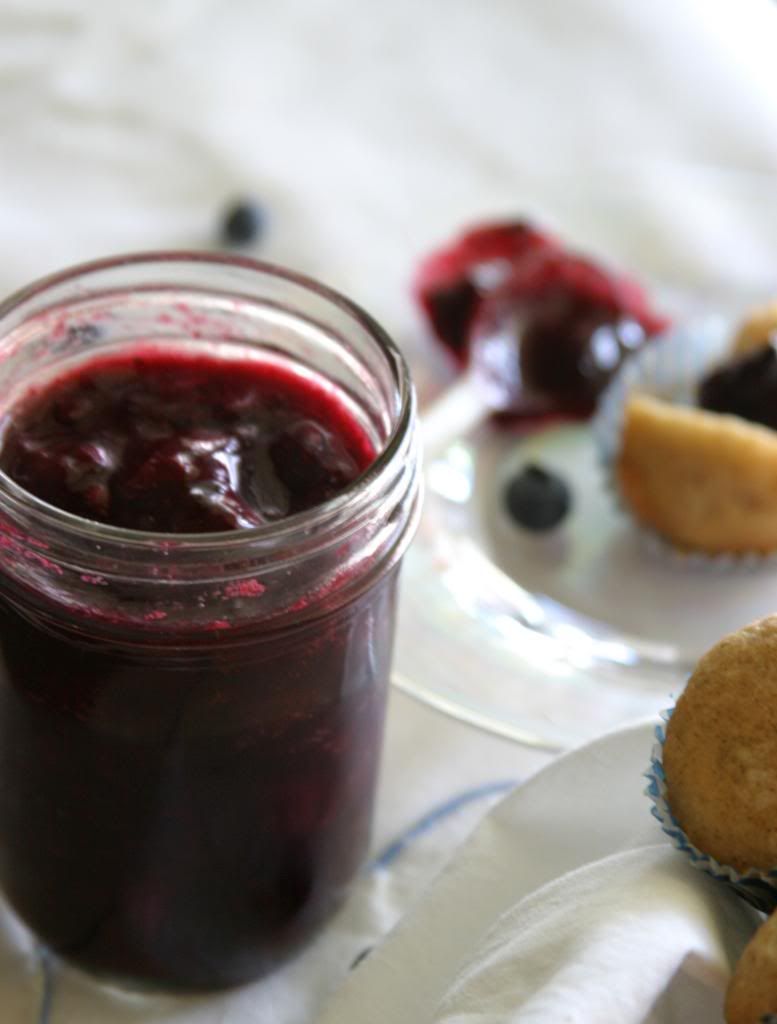
Most of all, I will miss the tomatoes. I planted a full garden's worth earlier in the spring knowing that I wouldn't likely be around to enjoy the fruits of my labor. But I couldn't bear to see the garden's brown earth remain barren where in the summers past they had been covered in cucumber vines, herbs and stakes tied with branches holding up the most beautiful of tomatoes. The first of this years crop are just beginning to find their way into the light. The cherry tomatoes are hanging on the vines, small and still green, but with the promise of something much more. I was hoping to have a tomato ready to eat before I moved, but I guess that's just not in the cards.
I can imagine the dark red heirloom Riesentraube tomatoes- growing right next to a patch of basil- would have been just perfect in this sweet little tart. It's a savory tart, almost like a fancy pizza, with a crisp and flaky crust. I'm so glad I found it. Perhaps one day soon, in the warmth of a late European summer afternoon I might pull another out of my new (and tiny) German oven. For now, I'll have to be happy with making the best of the few early tomatoes I can find in my own SoCal Saturday market instead. Sad to be leaving but happy to have been here to experience it in the meantime.
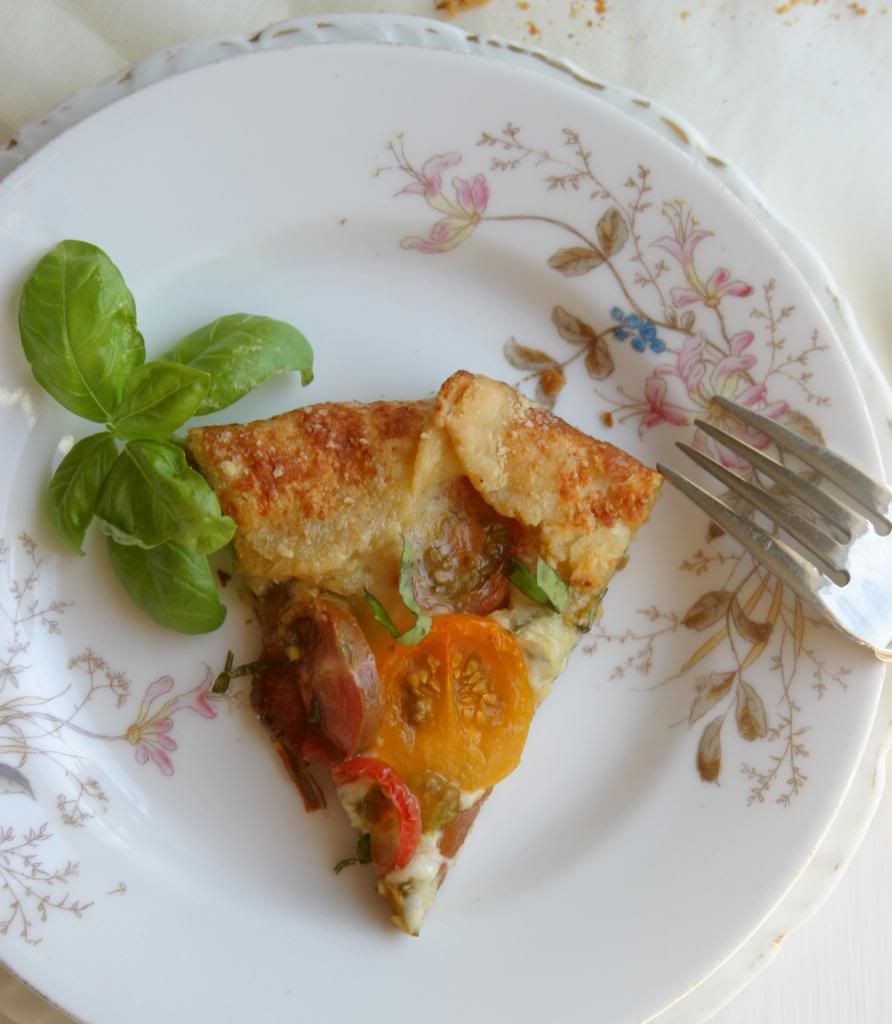
Tomato and Cheese Galette
Makes 1 8-inch galette. Adapted, only slightly, from Baking with Julia by Dorie Greenspan.
For the printable recipe, click here.
This is a Tuesdays with Dorie post, so there are plenty of other pretty pies to check out on the official page. I decided to vary the cheese selection a bit, thinking that fontina would make a better partner for the mozzarella that the monterrey jack that was called for in the original. I was pleased with the result and my boys enjoyed nibbling on the extra pieces of fontina as the galette baked. That's a win-win in my book. Oh, and the crust is to die for. Just saying.
1 recipe of galette dough (recipe follows)
1/2 cup shredded mozzarella cheese
1/2 cup shredded fontina cheese
1/4 cup fresh basil leaves, cut into chiffonade
(finely shredded) or torn
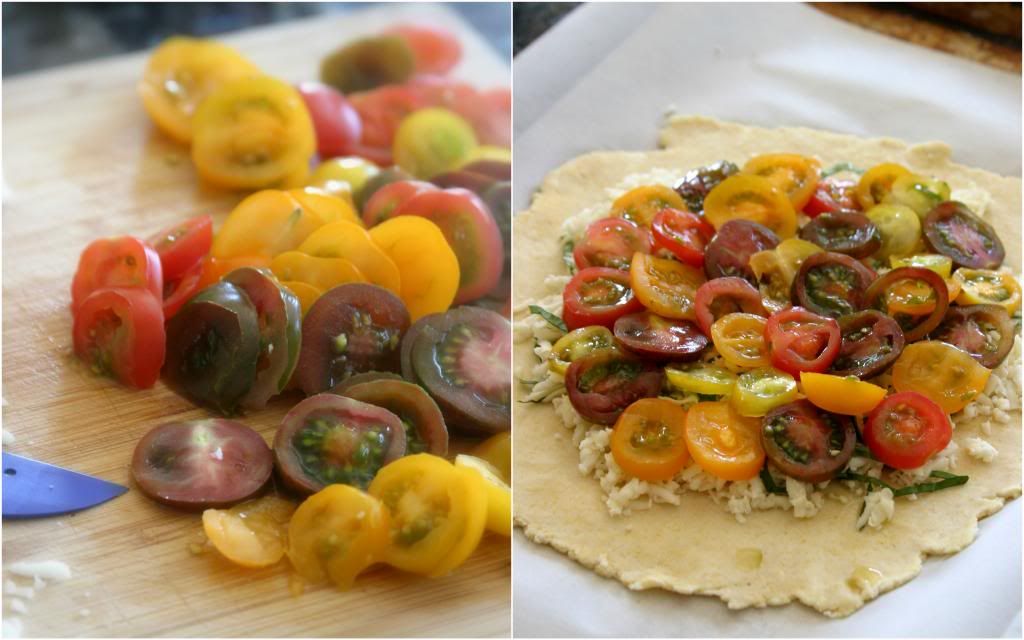
2 to 3 ripe plum tomatoes or 1 1/2 cups grape or cherry tomatoes, cut into 1/4-inch-thick slices
3 tbs grated parmesean cheese
Preheat the oven to 400° and position a rack in the lower third of
the oven. Prepare a baking sheet by lining it with parchment paper.
On a lightly floured work surface, roll out the dough into an 11-inch
circle that’s about 1/8 inch thick. The dough is quite soft so make
sure to lift it now and then and toss some flour under it and on the top
to prevent it from sticking everywhere. When you’ve accomplished the
above dimensions, move it to your prepared pan. The best and easiest way
to move this dough is to roll it up around your rolling pin and then
unroll it onto the prepared baking sheet.
In a bowl, toss the mozzarella and fontina cheeses and basil together and then sprinkle it
over the rolled out dough, leaving a 2-3 inch border. On top of the
cheese, place the tomatoes in concentric circles, again leaving the
couple inch border. Fold the uncovered border dough up over the filling,
allowing the dough to naturally pleat as you work your way around the
galette. Sprinkle the parmesean cheese around the fluted edges of the crust.
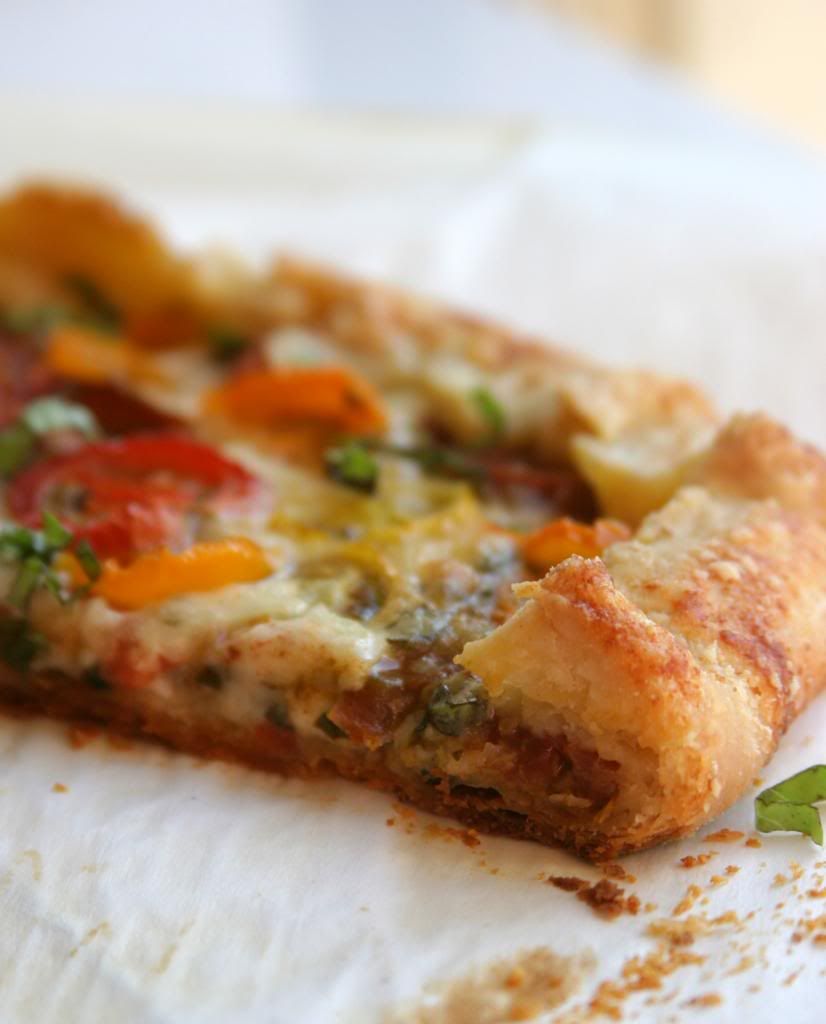
Bake the galette for 35-40 minutes, or until the pastry is golden and
crisp and the cheese is bubbly. When it’s done, allow the galette rest
on the sheet for 10 minutes. Cut apart with a knife or pizza wheel and
serve.
Galette Dough:
1 1/2 tbs buttermilk
2 1/2 tbs (approx.) ice water
1/2 cup all-purpose flour
2 tbs cup yellow cornmeal
1/2 tsp sugar
1/4 tsp salt
3 1/2 tbsp cold unsalted butter, cut into 4-5 pieces
By Hand:
Stir the buttermilk and ice water together in a small bowl and
set aside. Then, in a large bowl, combine the flour, cornmeal, sugar and
salt and stir with a fork to mix. Drop in the butter chunks and toss
them a round a bit to coat them with the flour mixture. Using a pastry
blender, work the butter into the flour, working for butter pieces that
range in size from bread crumbs to small peas.
Add the cold water/sour cream mixture into the dough 1 tablespoon at a
time, stirring with a fork after each addition to evenly distribute the
liquid. When all the mixture has been added, the dough should be moist
enough to stick together when it’s pressed; if it’s not, add in more
cold water, 1 teaspoon at a time. Use your hands to gather the dough
together.
When you’ve gathered it together into a cohesive ball, press the dough into a disk shape, wrap in plastic and
chill for at least 2 hours.
In a Food Processor:
Stir the buttermilk and ice water together in a small bowl;
set aside. Put the flour, cornmeal, sugar, and salt in the work of a
processor fitted with the metal blade; pulse to combine. Drop the butter
pieces into the bowl and pulse 8 to 10 times or until the mixture is
speckled with pieces of butter that vary in size from bread crumbs to
peas. With the machine running, add the buttermilk mixture and process
just until the dough forms soft, moist curds.
Remove the dough from the processor and press it into a disk. Wrap in plastic and chill for at least 2 hours.