I'm smitten. In total and complete love. And I'm not the only one.
We named our sweet baby girl Lorelei to honor her German birthplace. But what we didn't know was just how true to her namesake she's proving to be. Lorelei is known in German legend as a siren who lured men to her (and their doom) in the Rhine River. In just two weeks our Lorelei has shown to have a pretty powerful hold over her daddy and two big brothers. I can imagine that she will have the men in her life wrapped around her little finger as long as her heart desires.


This new little sweetheart came into our lives when we thought we were way past the "baby" stage of life. I love my older boys and seeing their personalities unfold as they grow into young men. So I was amazed at how quickly my heart was won over by their baby sister. My fears of being completely unprepared emotionally for this new addition to our lives, of the change that would shake up our comfortable life and of how I would be able to juggle all of those new baby difficulties and still be a good mom to my boys were washed away the moment that incredibly chubby-cheeked face was presented to me. In that moment I couldn't imagine our family without her.
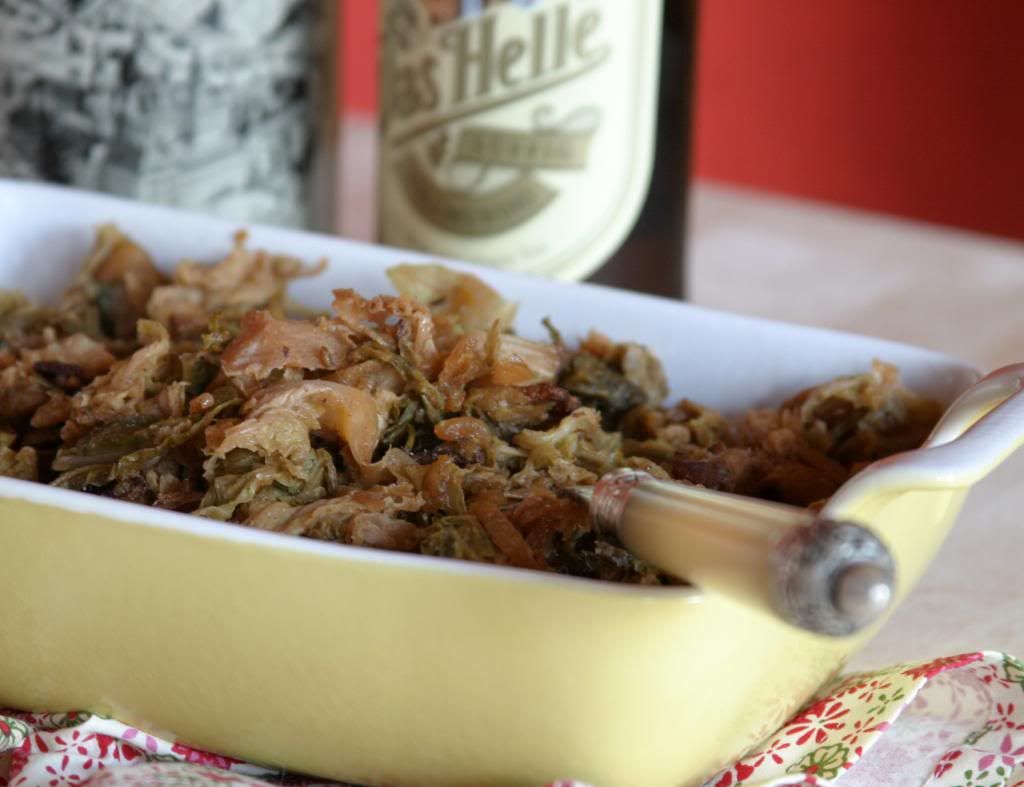
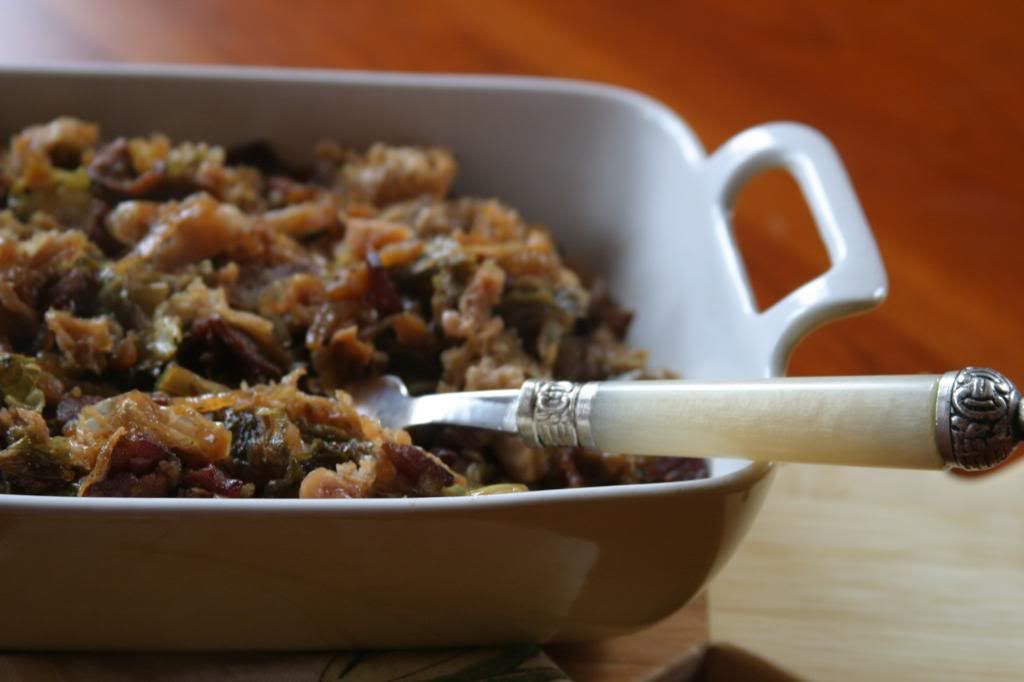
A new season has begun in our family just as fall has descended upon us here in Germany. I thought it fitting to share the most popular fall dish in our adopted home. You know fall has arrived when you see two things in the market- huge pyramid stacks of crazily pointy cabbages called spitzkohl and pumpkins. There are all sorts of pumpkins for sale, everything from presliced slabs of giant pumpkins to small winter squash like Hokkaido (or Kuri) squash. And my favorite fall festivity may just be the carved and stacked pumpkins that cover the gardens at the yearly pumpkin festival at a nearby Baroque castle. I think it will be Lorelei's first big introduction to the fests of Germany and rightfully so because in my mind her arrival will forever be linked to the crisp early days of the German autumn.

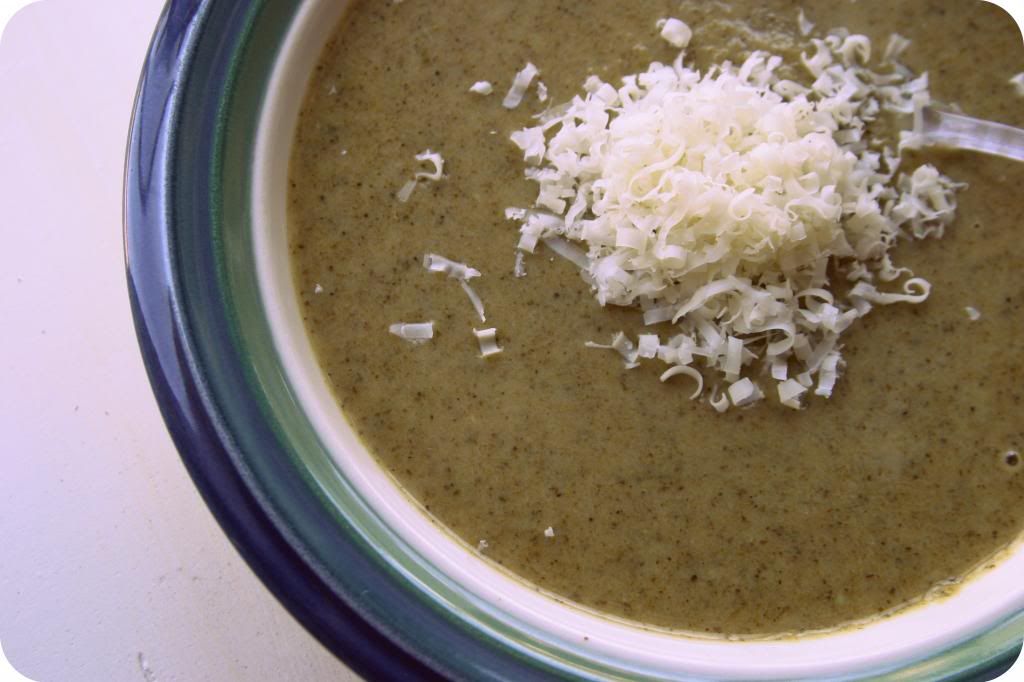
Kurbissuppe {Pumpkin Soup}
Serves 4 as a main course.
For the printable recipe, click here.
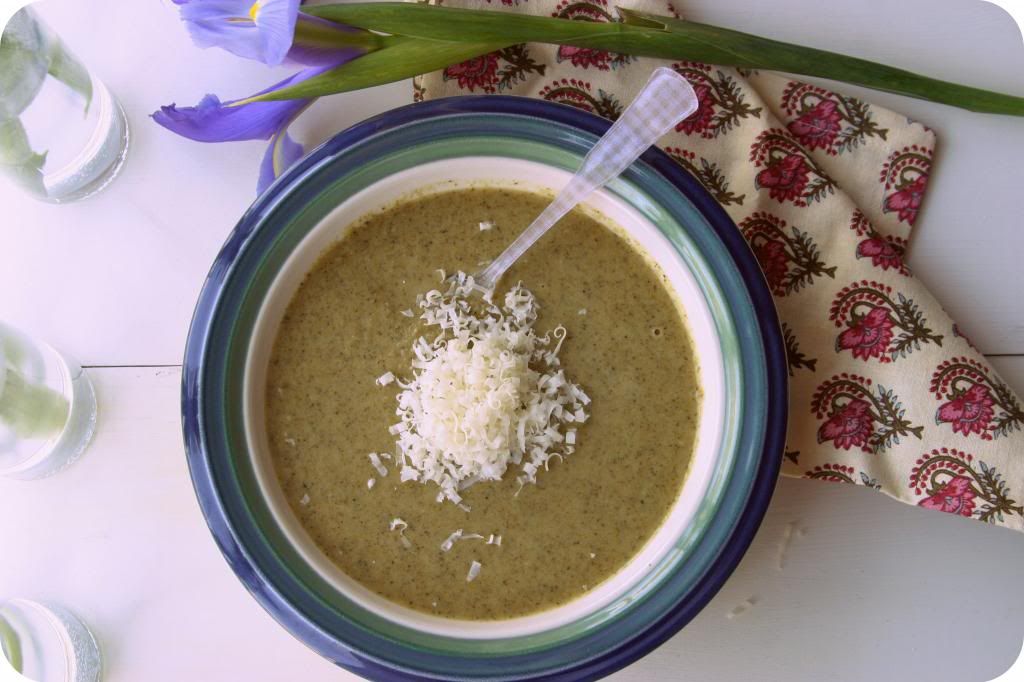
This is a pretty traditional German-style pumpkin soup. There are no fancy spices or herbs here, it's pretty straightforward pumpkin. I chose to use Hokkaido squash instead of a true pumpkin, but you could certainly use sugar pumpkins in place of the squash if you can find them. I roasted my squash first to add a bit more flavor and the Hokkaido can be roasted and eaten with the skin on- a bonus in my book. Here in Germany, the locals would drizzle pumpkin seed oil over their soup. The oil is a glorious deep green color and really adds something to the flavor of the soup. I didn't have any on hand, but found that a swirl of balsamic vinegar (I actually used a reduced balsamic glaze which you can find in many grocery stores these days) was the perfect foil for the rich soup. I wouldn't skip that drizzle if I were you. If you'd like a richer soup a swirl of creme fraiche wouldn't be out of place stirred into each bowl. And if you have them, sprinkle a few roasted pumpkin seeds over the top. The Germans would.
2 smaller-sized Hokkaido squash
1 medium yukon gold or other waxy potato, chopped into half inch cubes
1 small onion, chopped
2 carrots, peeled and chopped
2 cloves garlic, chopped
6 cups chicken or vegetable stock (or even water if you want to keep the flavor pure pumpkin)
olive oil
salt and pepper to taste
Optional garnishes:
balsamic vinegar or balsamic cream
pumpkin seed oil
roasted pumpkin seeds
creme fraiche
Preheat your oven to 400 degrees. Line a baking sheet with parchment paper.
Slice the Hokkaido squash in half and scrape out the seeds and membranes. Cut the flesh into 2 inch wide crescents. On the baking sheet, toss the squash with a drizzle of olive oil and salt and pepper. Roast for 25-30 minutes, flipping halfway through, until the flesh is tender and caramelized at the edges. Coarsely chop once out of the oven.
With about 10 minutes left to the roasting time, heat a tablespoon of olive oil in a 5 quart stockpot over medium heat. Stir in the onion and carrot and saute until just beginning to soften, about 4 minutes. Add in the potatoes and garlic and saute for another 3 to 4 minutes (being careful not to burn the garlic). Stir in the stock and roasted squash. Add a pinch of salt and pepper. Bring the soup to a boil and then reduce the heat a bit. Simmer the soup until all of the vegetables are very tender, about 15-20 minutes. Blend the soup in batches until smooth in a blender or in the pot using an immersion blender.
Serve the soup with a drizzle of balsamic vinegar or pumpkin seed oil, a sprinkle of roasted pumpkin seeds and a swirl of creme fraiche.